Tips for Success
Start Slow: Focus on precision before speed.
Practice Daily: Short, consistent sessions yield better results.
Hold Your Pen Correctly: Relaxed grip for better control.
Use Guidelines: Helps maintain uniformity.
Experiment with Styles: Find what you enjoy most.
Conclusion
Calligraphy is a rewarding and meditative art that anyone can learn with patience and practice. Follow this 30-day plan, and soon, you’ll see noticeable improvement in your lettering skills. Keep practicing, stay creative, and enjoy the process!
Happy lettering!


 Handcrafted Wooden 3D Flower Frame
 Elegant 3D Metal Floral Wall Art
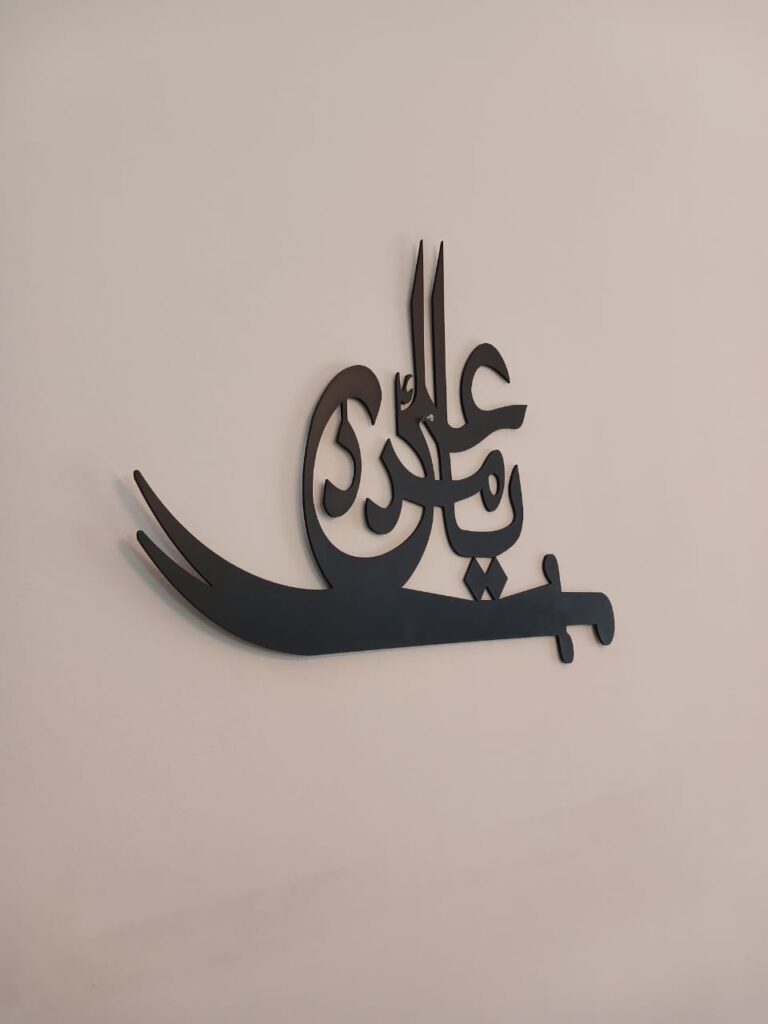
 "Ya Ali Madad" Wooden Wall Art – 20x16 Inches
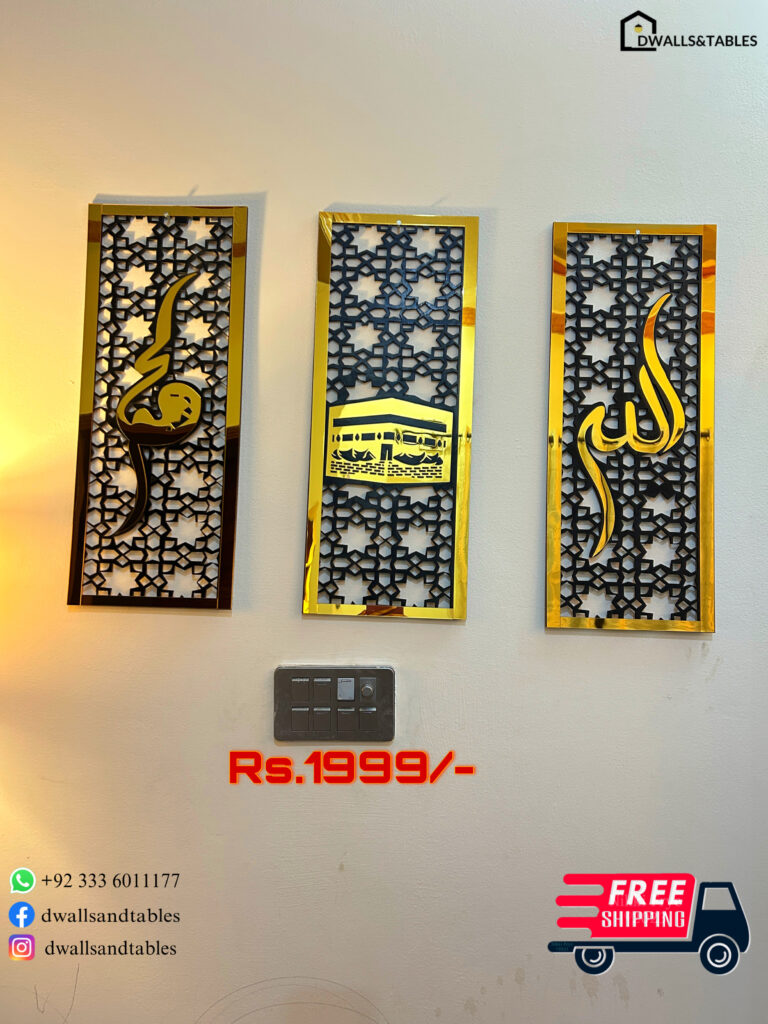
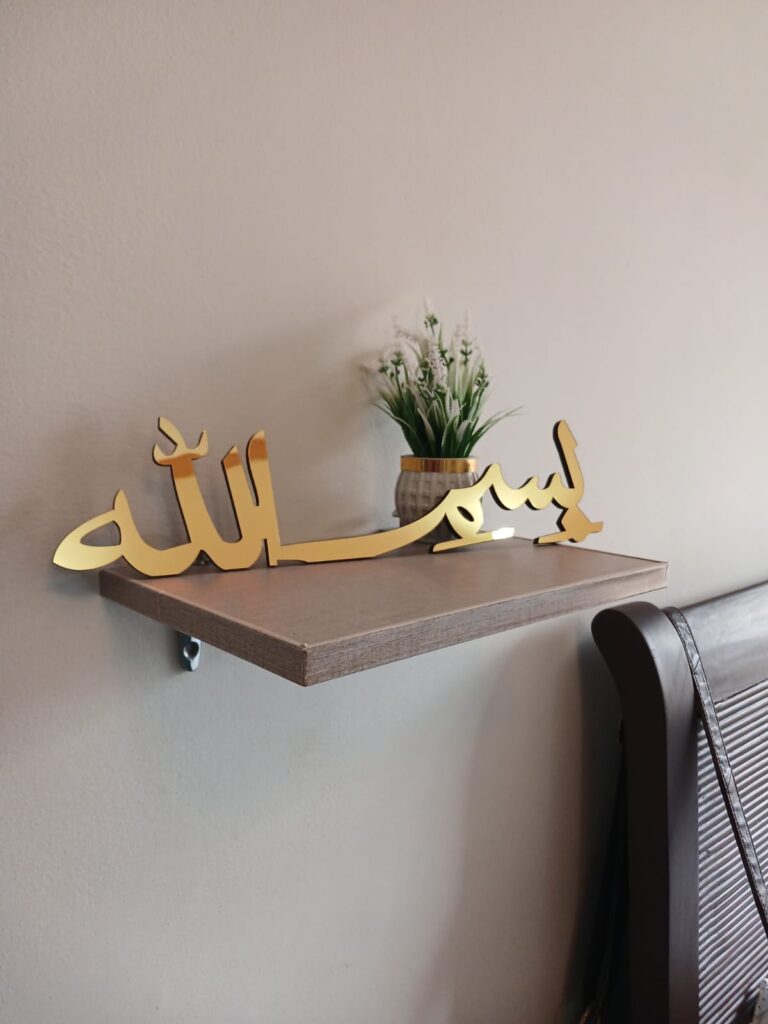
 Acrylic "Bismillah" Standy – 16x5 Inches